The most common scenario for this is where you have imported a junior member with the parent's email address stored against the child's account. Whilst that's useful when you store your members information in a spreadsheet, it doesn't work so well in an online system:
- Email addresses have to be unique, i.e. you can't store the same email address against 2 different accounts. So, if the younger sibling joins, it all starts getting a bit messy
- If the adult is a member of another organisation in WebCollect, then you can't use that email address for the child. The name of the member associated with the account needs to be the same.
If you are using the Subscription Product type Junior, then the system requires the junior to be in a group with a separate adult.
Separating the accounts: Via the Admin Panel
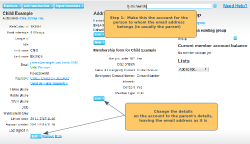
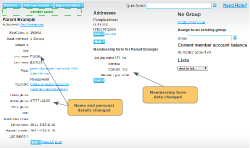
Step 1: Change the details on the combined account
The combined account needs to become the account for the person to whom the email address really belongs. So leave the email address as it is, and change any personal details or membership form details that need to be changed.
That might seem the long-winded way round, but there are good reasons to make this the parent's account:
- If they have logged in, their login details won't change
- If they are a member of another organisation, the system won't let you remove the email address from the account.
- The creating group/adding second person process below is more straightforward
If you are worried that you will forget the child's information, then you can leave this step until after Step 3 below.
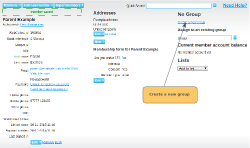
Step 2: Create a group and add second account
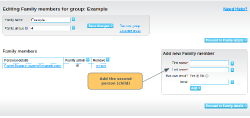
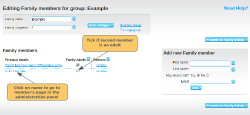
Click on Create new group. You will then be taken to the group screen, where you can add the details of the second family member.
Note: If the combined account was already in a group, then click on the Group name (top right) to go to the group screen. You can then add the additional family member.
Step 3: Update second account's details
If the account that you have just created is for an adult, we recommend that you tick the Family Admin box, so that they can manage the group account, buy subscriptions for other family members etc.
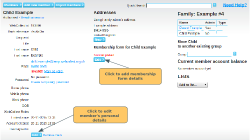
Click on the second member's name to go to their member page, where you can update their personal details/membership form.
Step 4: Moving orders or subscriptions
If the combined account had any subscriptions or orders that need moving to the new account that you have just created, click here for details on how to move them.
